Welcome

* * * Canadian Craft Federation / Citizens of Craft.ca Podcast Series! : ) I'm in Episode #4... but you should listen to them all. : ) LISTEN
Showing posts with label tutorial. Show all posts

Friday, 11 July 2014

Finished for Friday - See My Process

Gee - it sure was a big reaction on Facebook when I posted an image of my sewing machine 'in action'.  I don't show a lot of process photos because... well... I assume you can see or guess.  I don't have any secrets.  I just collage & sew what I see.  No tracing, no templates, no printing (with the exception of simplifying in order to teach).  I generally place background colours where I want them, and then I stitch it up.  I'll show you what I mean.  Here's a little more process...

loose land-and-sky combinations

I'm working on three 'minis' here.  I'm not working from photos as I usually do.  (That's a big first for me!)  Each landscape will be about 3x3" square.  That's really tough to hold, so I thought I would put then in a row and work on them like this so I have more to hang on to as I manipulate the pieces under the machine needle.

I have piles of fabrics.  It doesn't matter much to me whether they are hand dyes or commercial batiks.  I'm just looking for the right colour for the job.  The placed fabrics are fused onto a tough, stiff cotton weave, and then further stabilized.  I love stabilizer.  I hate puckering.  I use Sulky Peel&Stick exclusively (see sponsor link on sidebar).  It's my favourite.

Then I start stitching.  I put down the thread from farthest point to closes point.  Typically, the distant horizon will have shorter stitch lengths than the foregound.  And so, with my box of hundreds of tints, tones, and shades of green - I begin!  (This is a different trio, bit I thought the photo was clearer.)


I stitch some up.  I stitch some to the side.  This is purely experimental.  I have no idea of how these will turn out.  So far, I've used four different greens.  I pick a few more variations of greens and I keep sewing.  This is all free-motion stitching - sometimes straight stitch and sometimes zigzag.  I've used decorative stitches just for effect when I need a really random look.


Every now and then, I place a working mat on top just to see how the composition is coming along.  These pieces are bigger than what you'll view once it's in the frame.  I need to be sure that the flowers I stitch will be in the scene and not out of the 'margin'.  Using a working mat helps keep it all in balance.

Here I'm adding canola by machine.  I usually do this by hand in my larger pieces, bit this is so small to fiddle with, I find the free motion can get the effect I'm wanting for these minis.


I often 'sew upside-down'.  You are seeing the last image from my point of view while working.  Because I stitch back to front (horizon to foreground), I find that I can see where I'm stitching easier if the piece has it's finished portion facing me, and the unstitched cloth yet behind the needle.

After it's all filled in, I clean up the work.  I adore small, sharp snips that are curved.  My snips MUST be curved.  Too many times I have used fancy-schmancy staight embroidery scissors and damaged the work.  Curved snips are best for me - see how they don't touch or poke or get caught in any other threads?

snip

These are Singer embroidery scissors, and are just like cuticle scissors from the pharmacy.  

One last check with the potential frame and I think it's done.  I like it! : )


And here's another with blue flax.  I may still add trees out on the far horizon.  I'm not sure yet.  There's something beautiful to me about the openness.
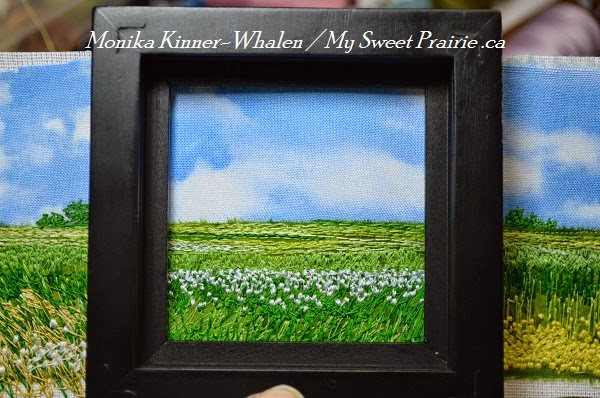
a little flax

There you have it.  I'm not sure which of these will end up where.  Some will go to Handmade House, and some will be stockpiled for Roulleau / Dog River Days Farmers' Market at the end of the month.

p.s.  Isn't the colour great in these photos!?  I'm working at night here with no sunshine whatsoever.  I LOVE the day bulbs and my ottlight so much.  : )

Have a great weekend, and I hope you are enjoying summer!


Tuesday, 18 January 2011

Tips on Tuesdays! -> Binding

Hi!  Welcome back to Tips on Tuesdays!  This week is all about binding. 

 
Please leave a tip in the comments section at the end of the post.  It's like 'take a penny, leave a penny'.  Here are a couple tips I have learned from others.  From Joyce (a fabulous guild member and blog follower) I learned to lay the binding out around the quilt first to make sure that no bulky seams end up right where you will be mitering corners.  Ah ha!  Smart one!

And here's a little pictoral on making those mitered corners.  When your needle is 1/4 inch from the end of the quilt, turn and stitch off at a 45 degree angle like this (thanks again Joyce for that one!):

Then turn the quilt, and fold the binding back and up like this, using the angled stitch-off as your guide:


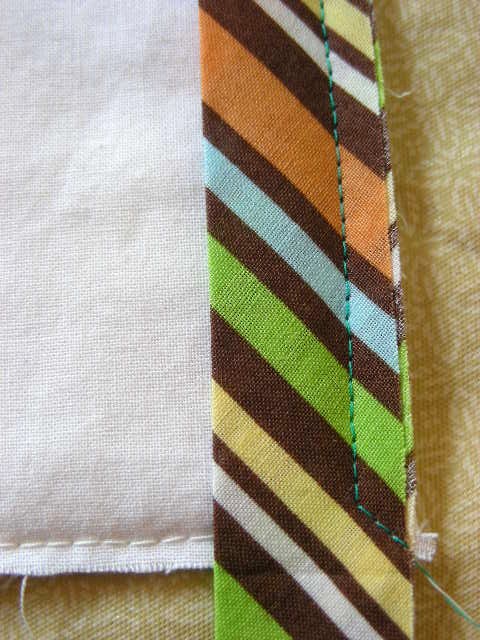
Then fold it back down so that the raw edge is aligned with the raw edge of the quilt like this:


Now all you do is stitch down that side with a 1/4 inch seam.  Repeat when you get to the next corner.  Mark that stitch off angle if you need, so you know when your needle is 1/4 inch from the bottom edge, like this:


Then when you press the binding back, the perfect mitre just magically appears!  Tada!


Sharon Schambler closes her mitres with a ladder stitch to keep them from popping.  SMART.

quick little ladder stitch, pull and it closes like a zipper!

You can see the entire tutorial for making & attaching perfect binding HERE.  It's loaded with photos at every step.  What do you have to say about binding?  We would love to read about it.  Please share!  Pin away : )


Bloggers can grab a linky or leave their blog address in the comments section.

~Monika : )

Thursday, 28 October 2010

Fibre Arts (and Crafts!!)

This is not original, but with Halloween in just a few days (yippeeee!!) I had to share this super easy craft I discovered while shopping.  Sweet fibre ghosts!!


All you need is this:


And this:


Set up some 'molds'.  


You are supposed to set up your sculpture first and then spray it.  I found it easier to do it the other way around.  The cheesecloth is so light that the force of the spray pushes your design around!  So, cut your cheesecloth to the size you want, lay it on a surface and spray it all over until thoroughly moist.  Square pieces are great because they make long raggy points.  Then you pick it up and set it onto the mold.  While wet with the spray, it's really easy to manipulate.  And then it stays put!  


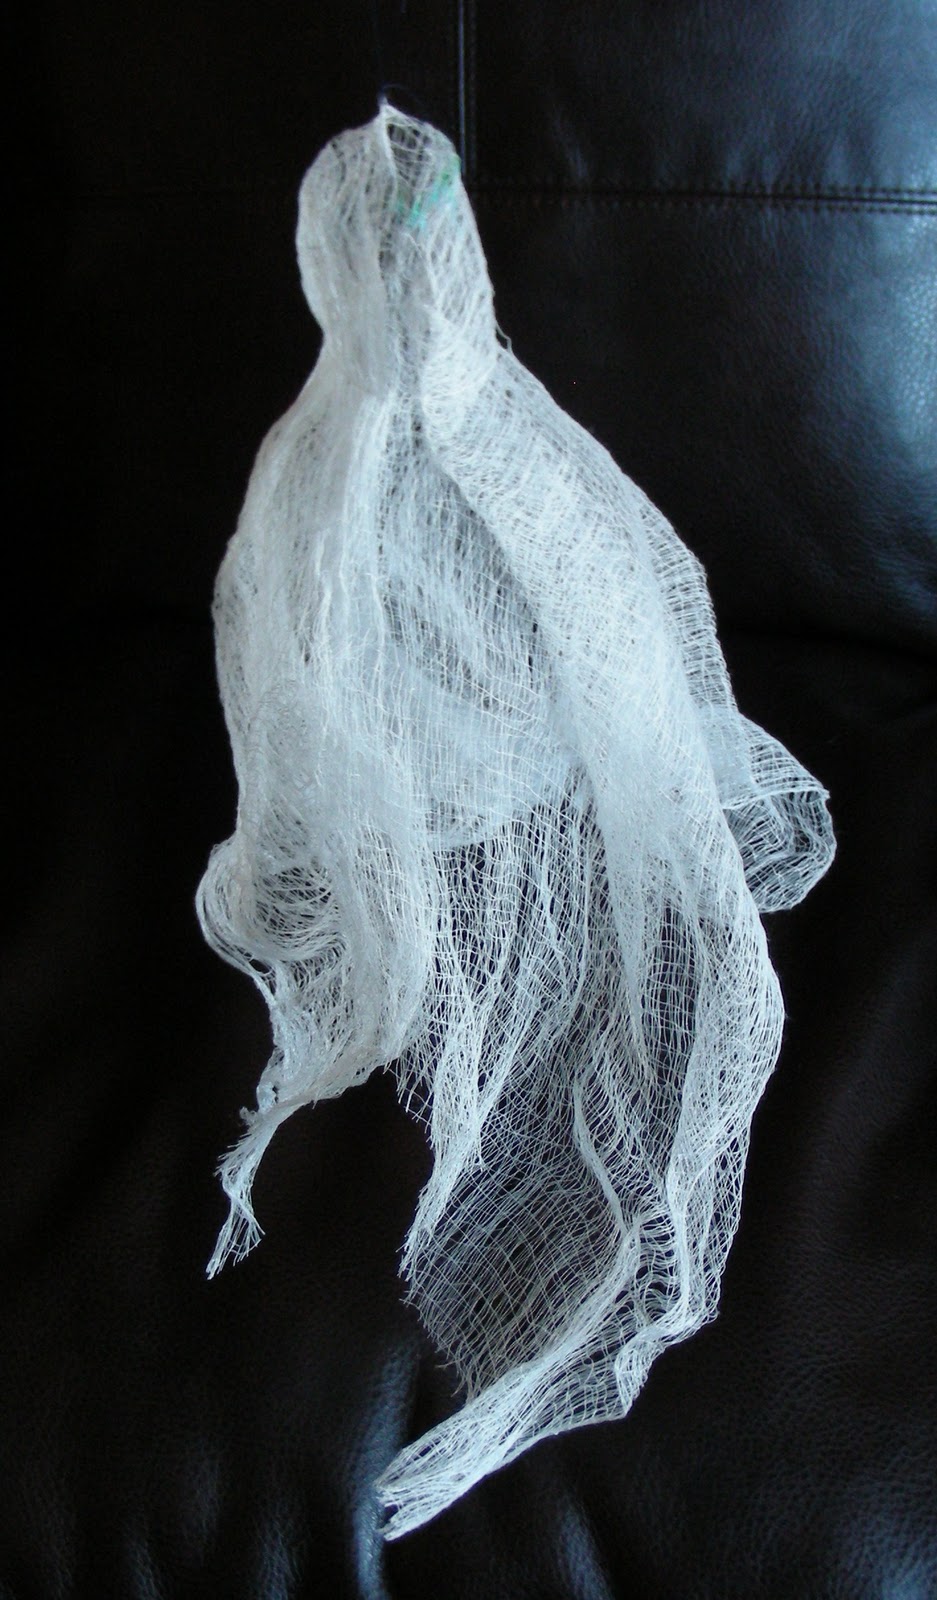
This takes an hour to dry.  I tied threads around the necks to help shape it.  Just pulling the string sets the cheesecloth into position and it stays.  (I find this so remarkable!) 


It's apparently non-toxic.  My hands feel all powerdery now, so I'm sure it's just starch & water.  You could do this on a towel, or wipe up the floor after like I did.


FUN!!  Once dry, string them up and let them float in the wind!  wooooooooooooooooooooooo!


~Monika
stitchin' & witchin'
Related Posts Plugin for WordPress, Blogger...

* * * Here are some of the most viewed blog posts this month * * *