

Please leave a tip in the comments section at the end of the post. It's like 'take a penny, leave a penny'. Here are a couple tips I have learned from others. From Joyce (a fabulous guild member and blog follower) I learned to lay the binding out around the quilt first to make sure that no bulky seams end up right where you will be mitering corners. Ah ha! Smart one!
And here's a little pictoral on making those mitered corners. When your needle is 1/4 inch from the end of the quilt, turn and stitch off at a 45 degree angle like this (thanks again Joyce for that one!):
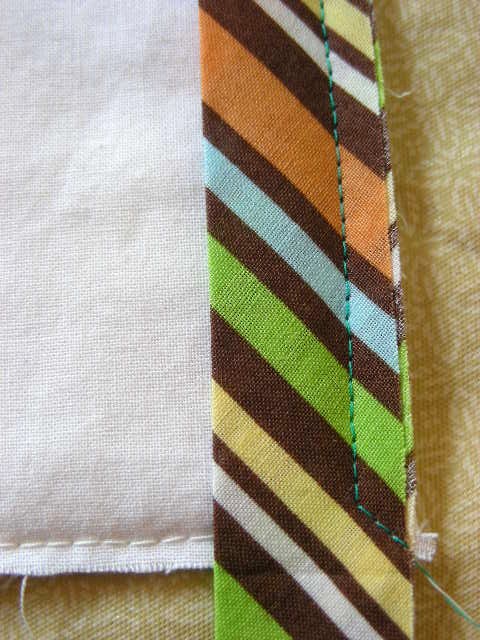

Then fold it back down so that the raw edge is aligned with the raw edge of the quilt like this:

Now all you do is stitch down that side with a 1/4 inch seam. Repeat when you get to the next corner. Mark that stitch off angle if you need, so you know when your needle is 1/4 inch from the bottom edge, like this:

Then when you press the binding back, the perfect mitre just magically appears! Tada!

Sharon Schambler closes her mitres with a ladder stitch to keep them from popping. SMART.
 |
| quick little ladder stitch, pull and it closes like a zipper! |
You can see the entire tutorial for making & attaching perfect binding HERE. It's loaded with photos at every step. What do you have to say about binding? We would love to read about it. Please share! Pin away : )

Bloggers can grab a linky or leave their blog address in the comments section.
~Monika : )


108 comments:
Post a Comment